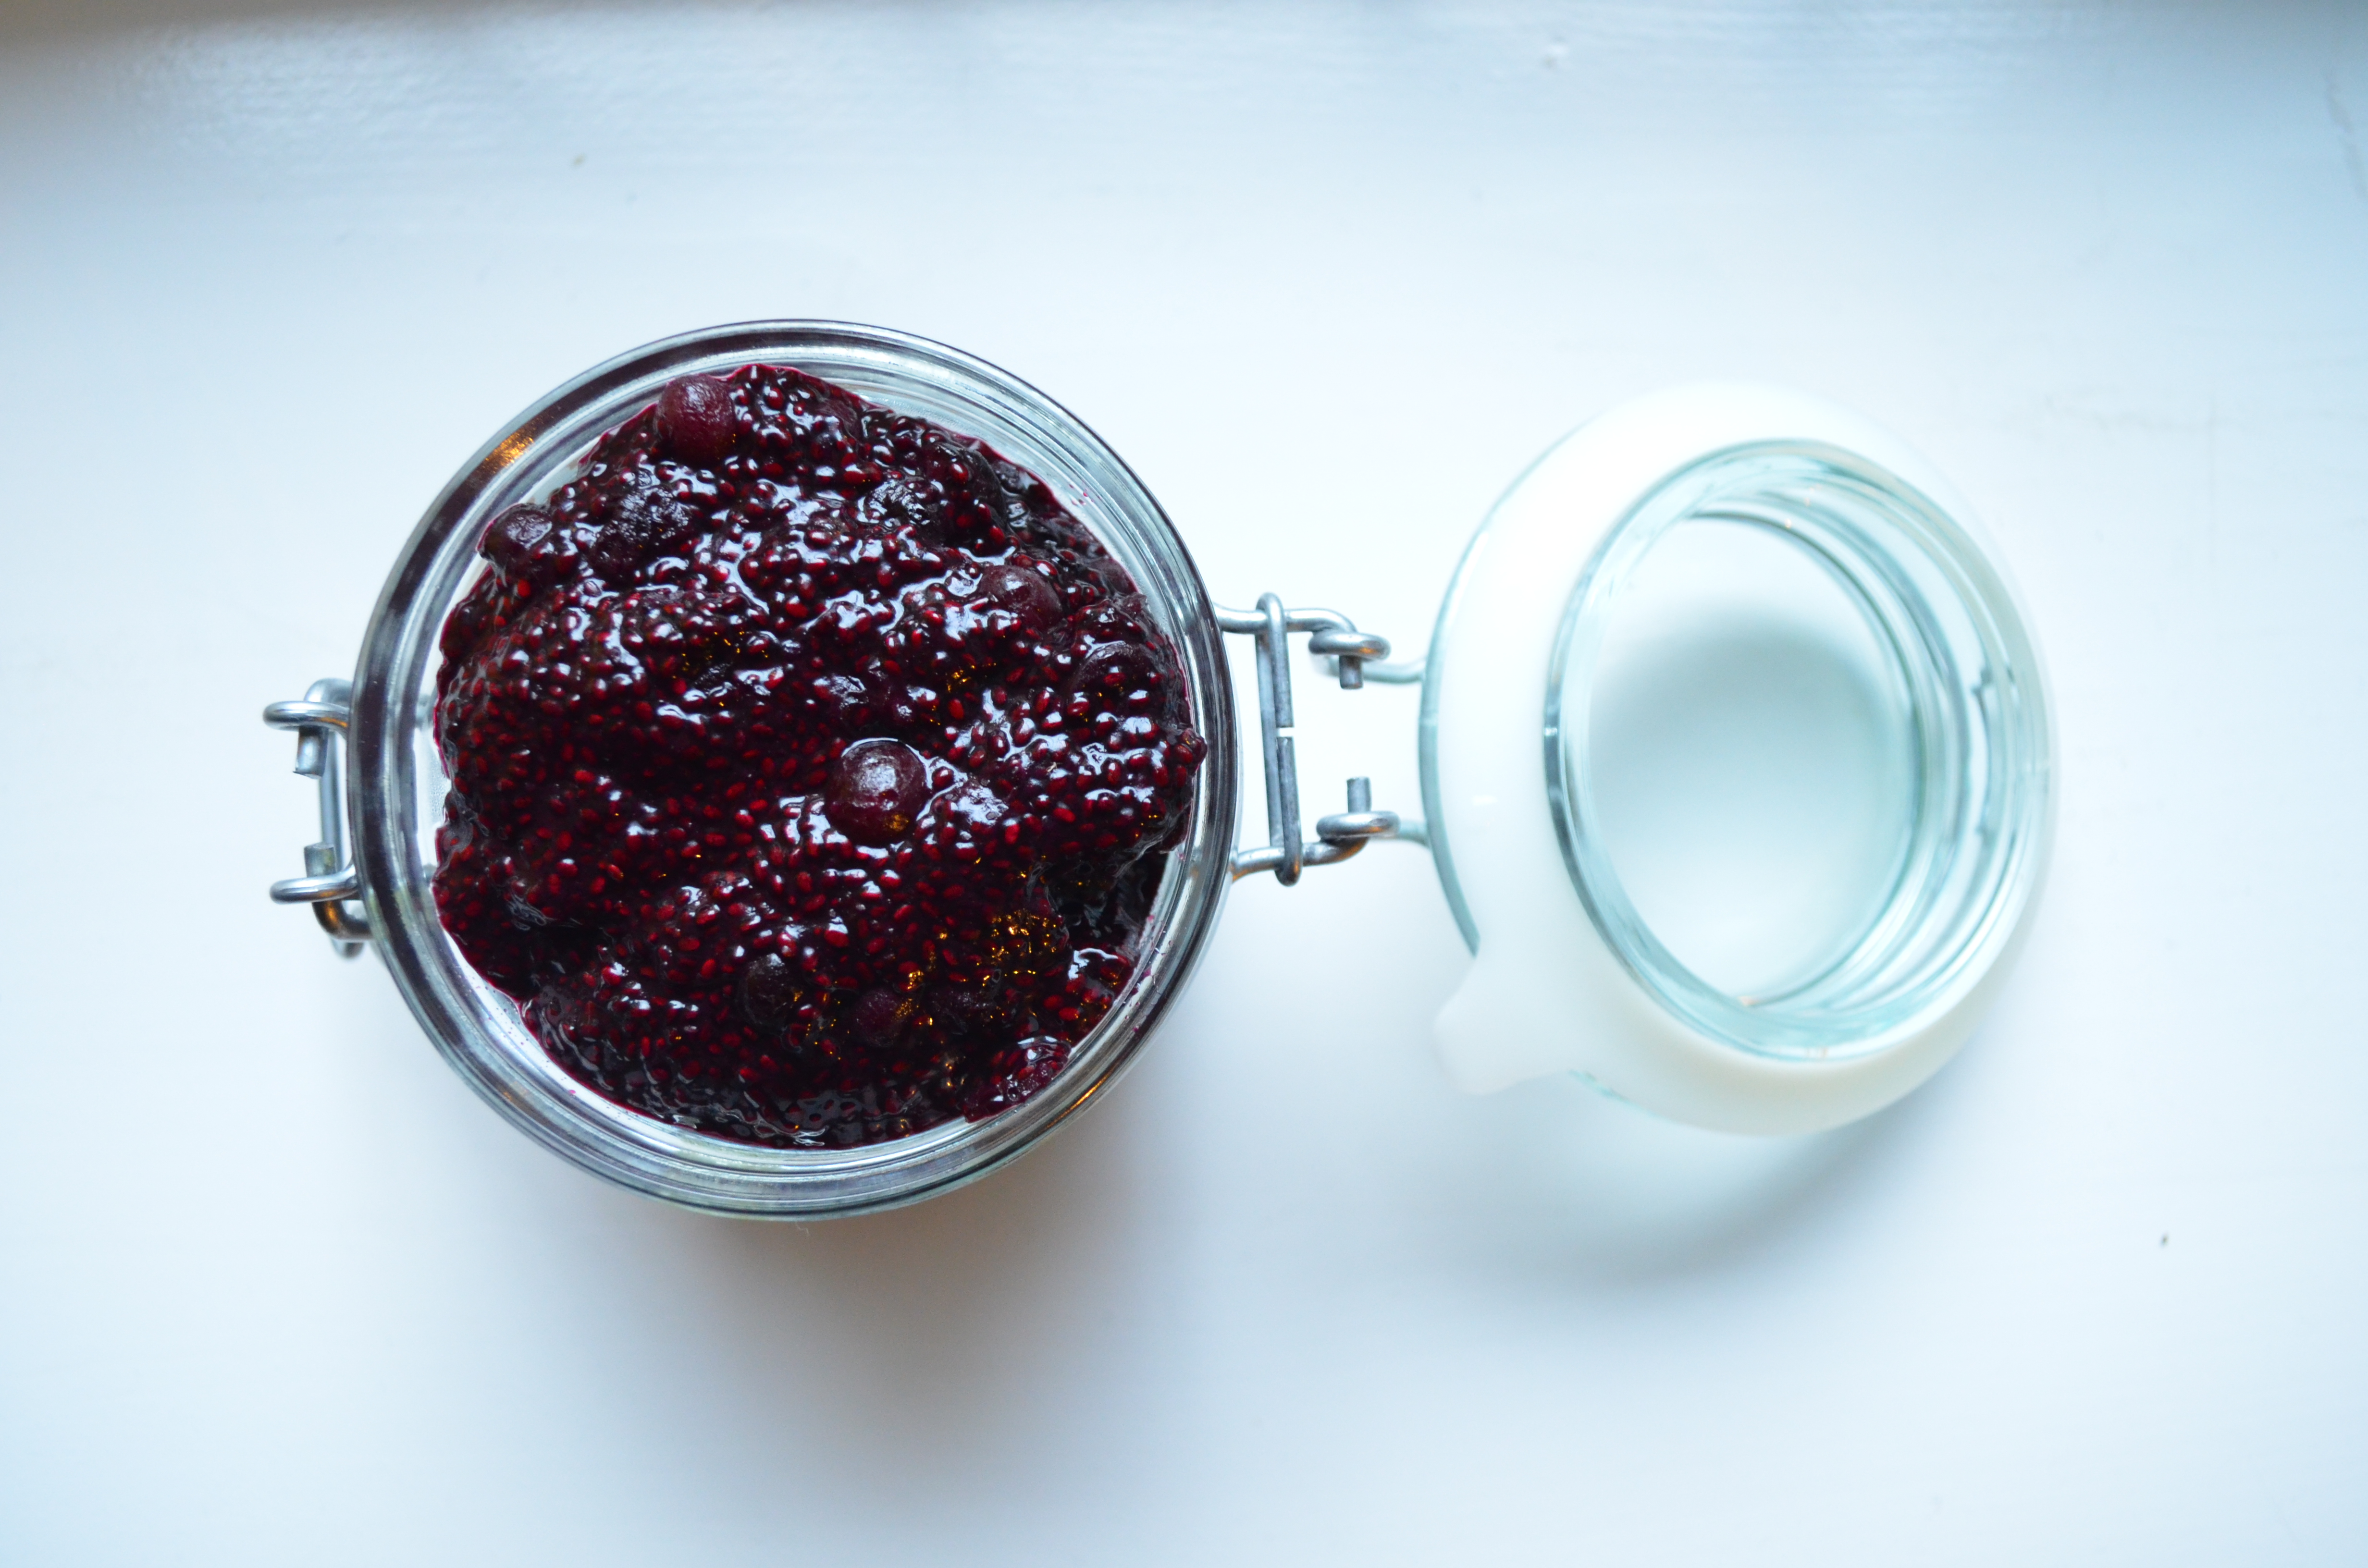
Quickest jam recipe ever.
Are you ready?
4 ingredients and 10 minutes is all you need.
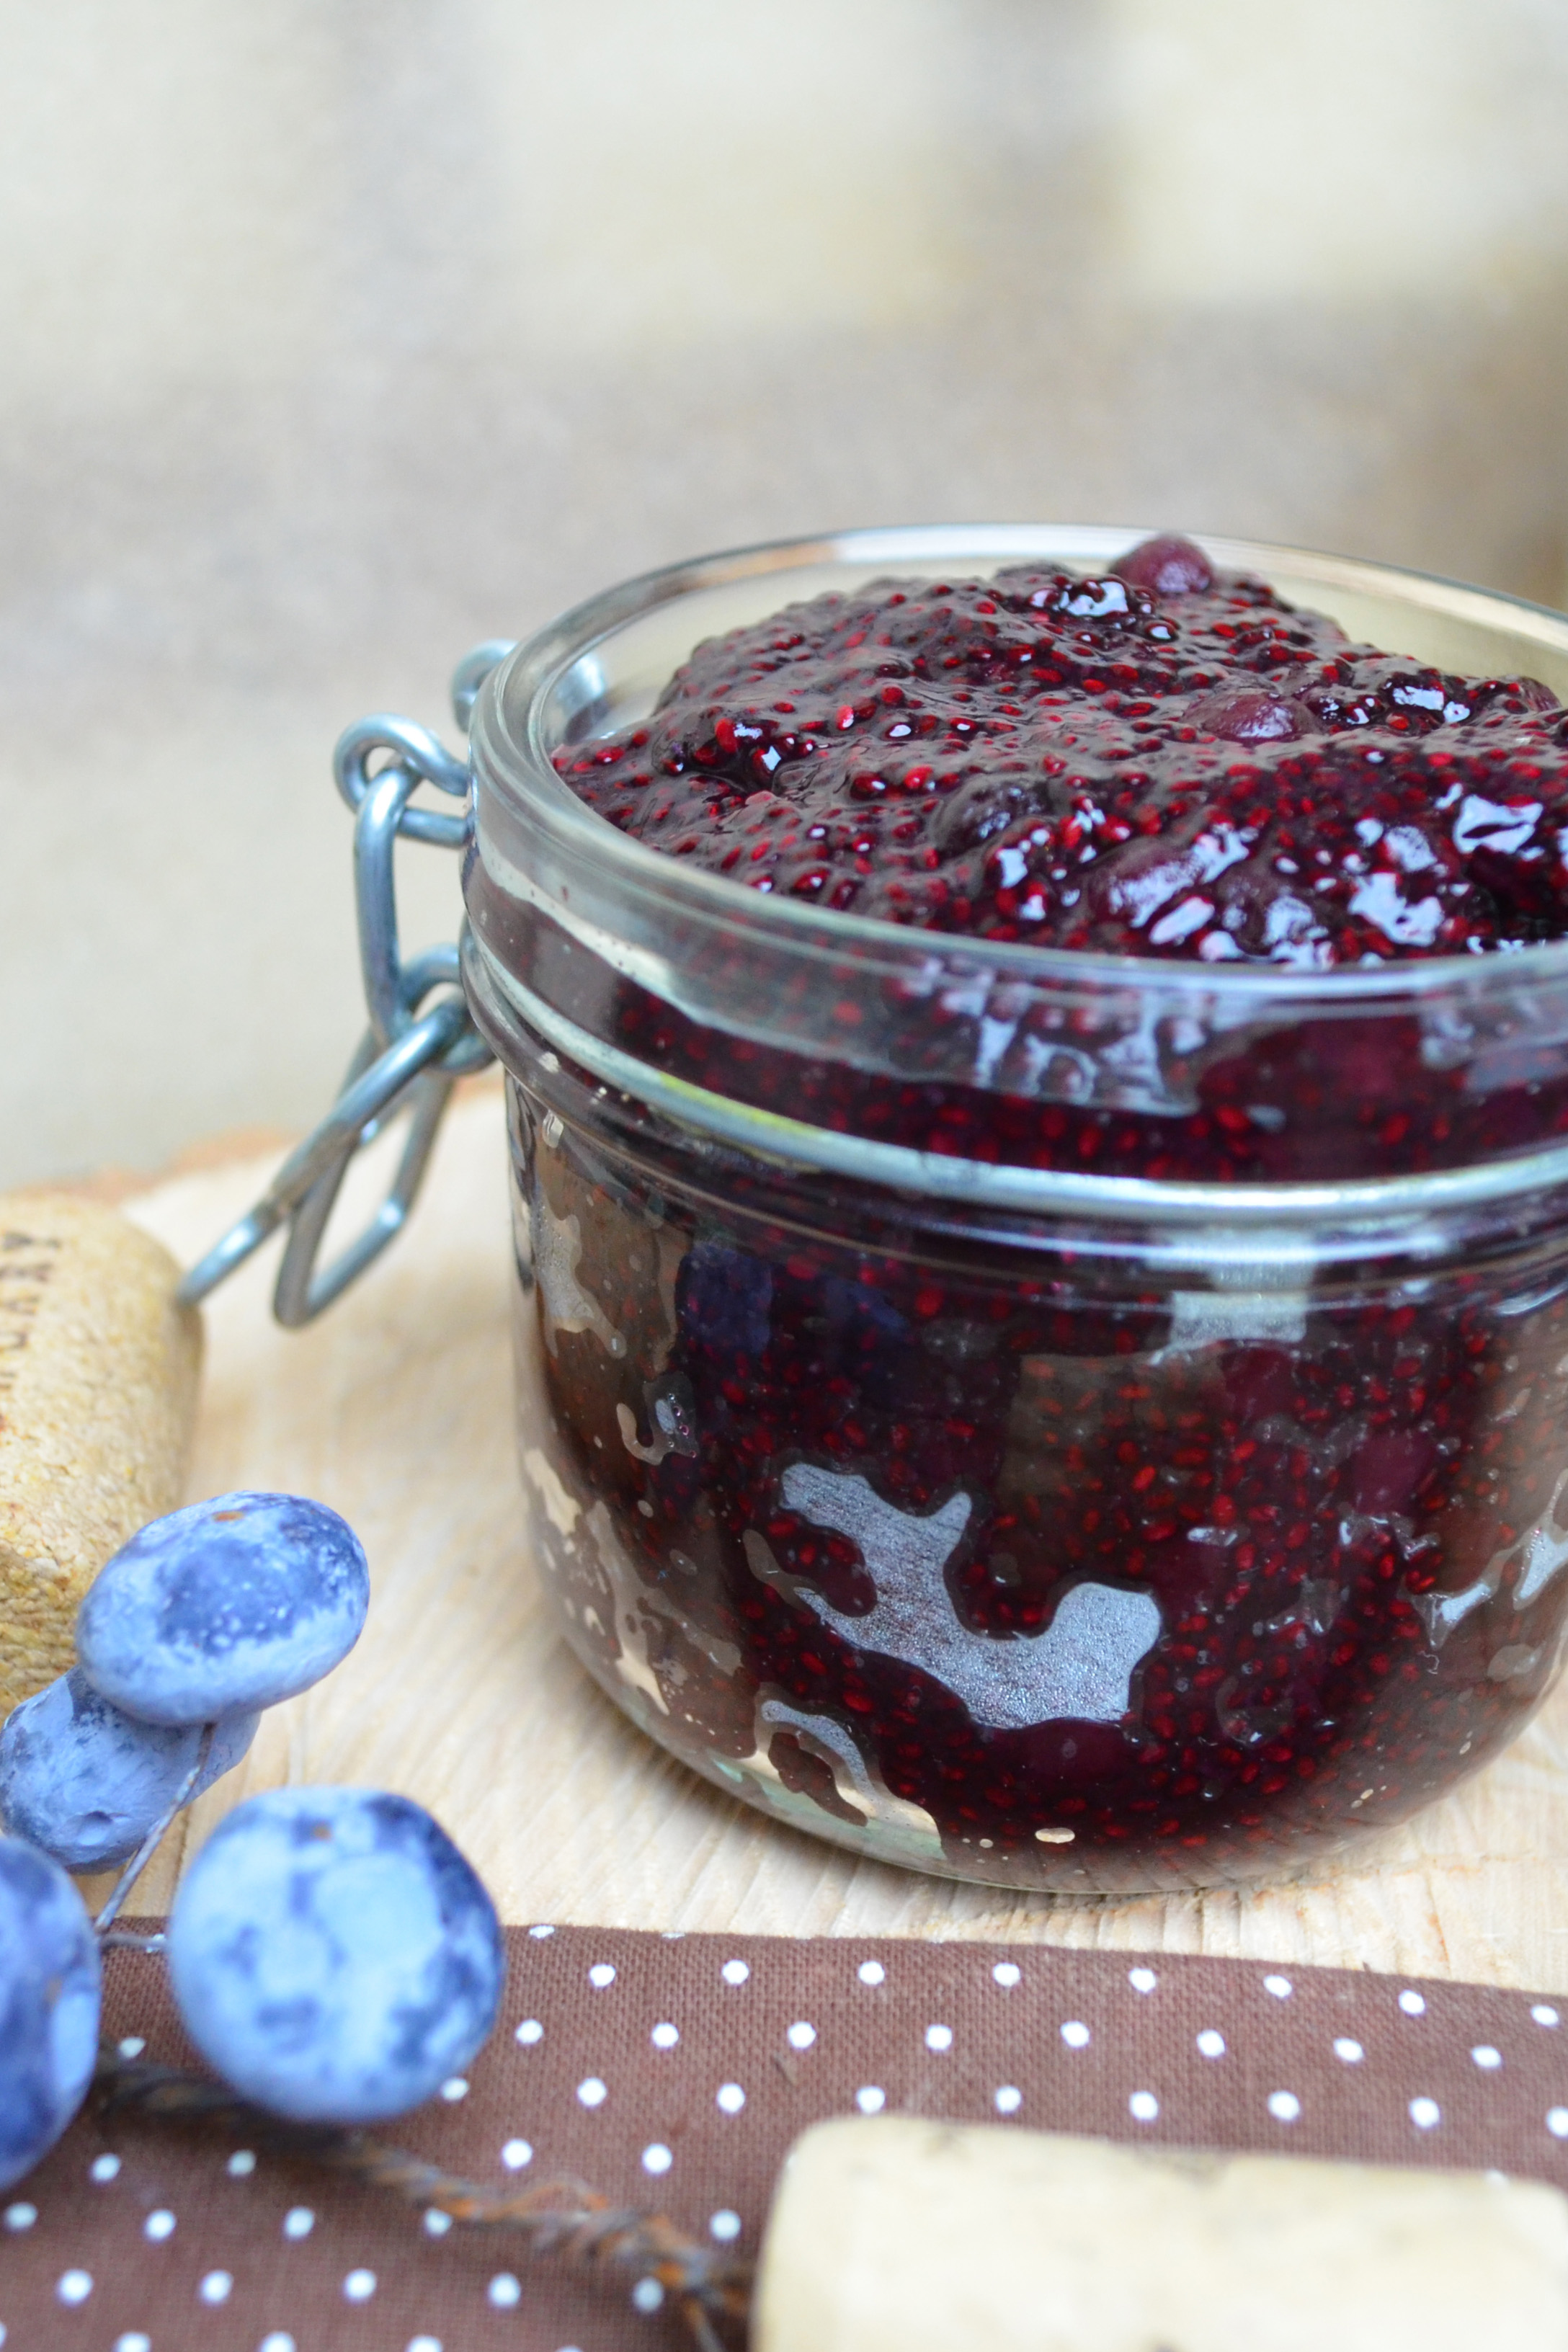
Look how pretty!

This jam recipe works with any fruit, really. But since I’ve been reading about the gazillion reasons why blueberries are so good for us, this time I made them my nutritional “weapon of choice”.
Also known as “brain berries” thanks to their ability to improve memory, cognition and overall brain health, blueberries are also a rich source of powerful polyphenols: antioxidants that help you get rid of unwanted free radicals, reduce the risk of cancer, alleviate inflammation and amp up weight loss.
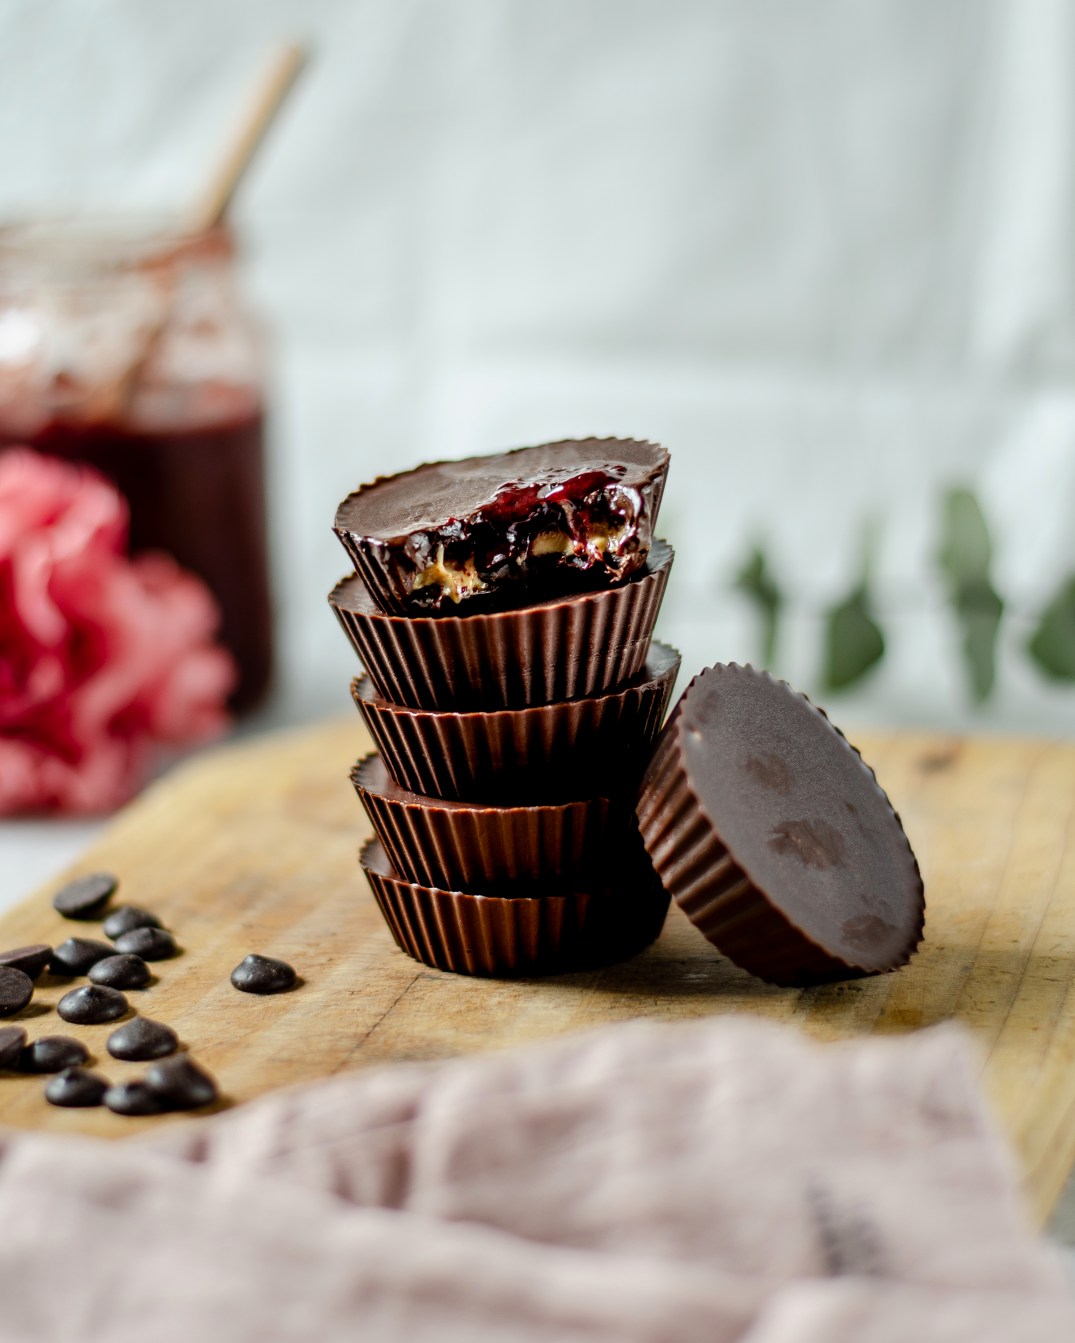
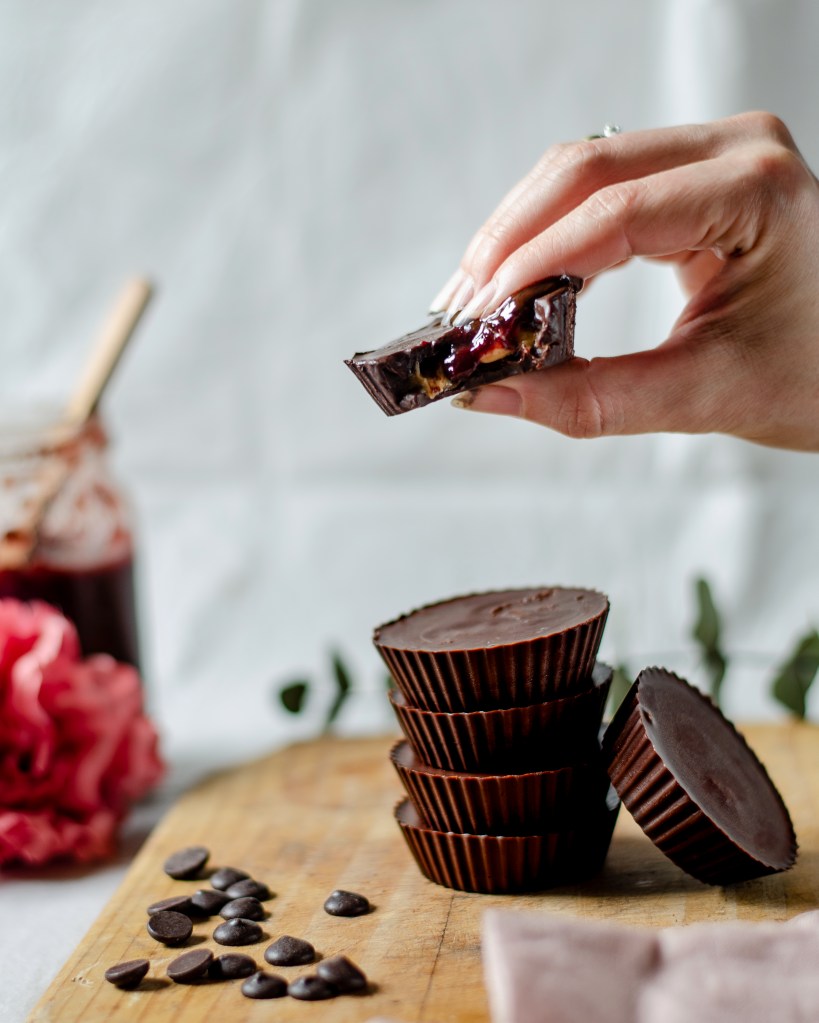
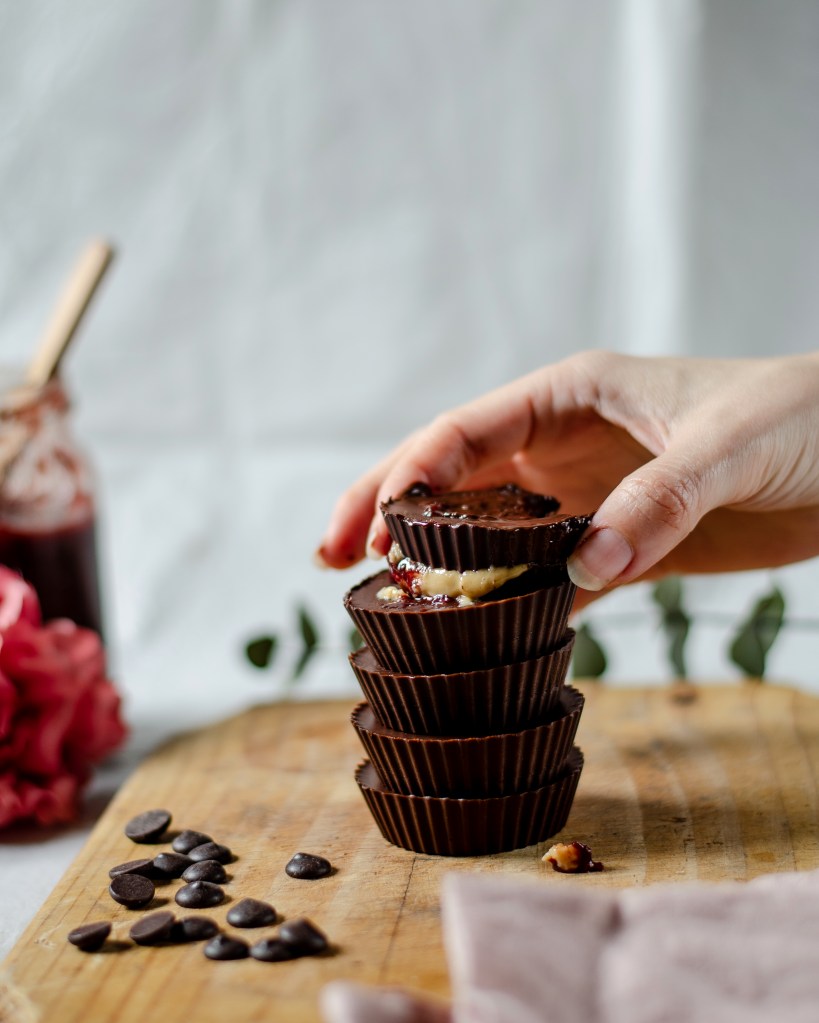
And about that snack… which is my new favorite and can totally be your “I-just-got-home-from-work-I-am-famished-and-immediately-want-food-in-my-face” kind of dinner as well: toast + butter or ghee + this blueberry-lemon chia jam + arugula. Perfection.

Fun fact: fat makes polyphenols more bioavailable to your body, which means it helps them be absorbed more easily, so you want to consume polyphenol-containing food with a type of healthy fat to reap their benefits fully. Which is why I’ve been munching on the above mentioned combination.
Oh, and a side note: yes, butter is a healthy fat. Not all butter is created equal, though. Opt for organic grass-fed, if you can, as it contains fat-soluble vitamins and supports brain health as well.
And I haven’t even mentioned the chia seeds that are “hiding” in here too! Can you believe these tiny little seeds hold so much goodness in them? Fiber, essential fatty acid omega-3, protein, minerals and vitamins… and they’re actually one of the best dietary sources of calcium.
I’ll be honest, I’m not a huge fan of chia seed pudding. I was up for the hype and *tried* to like it, but we never did get too friendly… I don’t hate it, but I’d much rather have the seeds raw just on top of my morning oatmeal or smoothie bowl.
THIS jam, though…
It’s a different story.
It’s absolutely amazing! It blew my mind how simple it is to make, yet it’s so yummy and nutritious at the same time.
I chose agave for sweetening, because I brought the jam to a quick boil while making it, and – unlike honey – agave syrup won’t get damaged when exposed to high heat. It is, however, also possible to just mix the ingredients in a blender without any heating, in which case it is perfectly okay to use honey.
Blending will obviously result in a more puree-like consistency, I personally like the texture of whole blueberries, so I went with the first method.

You should absolutely, definitely, undoubtedly try this recipe, it is a 100% natural and sugar free, made with wholesome ingredients. You’ll be puffing out your chest, boasting about your own homemade jam that you whipped up in literally 10 minutes!
And you should be puffing out your chest with confidence anyway, every day, because hey! You’re amazing!
Please remember that and have a lovely day! 🙂
Don’t forget to say hello on Instagram. #allwithzest
With love,


Blueberry-lemon chia jam
Yield: 2 cups
Prepare: 2 minutes
Cooking: 8 minutes
Total: 10 minutes
Ingredients:
- 2 cups fresh or frozen blueberries
- 2 or 3 Tbs agave syrup, depending on the sweetness you prefer (or honey)
- 1 tsp lemon juice
- 2 Tbs chia seeds
Instructions:
- If using frozen berries, let them thaw for a little while in the pot you’re going to use.
- Add agave syrup and turn on the heat to medium, gently mash the fruit with the back of a wooden spoon and bring it to a boil.
- Turn off heat and add lemon juice and chia seeds too.
- Stir well and wait until it’s completely cooled down. The jam will thicken, don’t worry!
- If you opt for the no-heat-involved method, simply add all ingredients in a blender and blend until you reach the desired consistency. The more you blend, the more jelly-like your jam is going to be.
- Transfer to a glass container and keep in the fridge for about a week. Or less. 😉